
 Featured Machines
 Travel CPAPs

 Most Popular Masks

 Tubes and Hoses
 Humidifier Chambers
 Machine Filters
 Power Cords
 Headgear
 Nasal Pillows
 Cushions and Seals


How to Clean a CPAP Humidifier Chamber Safely

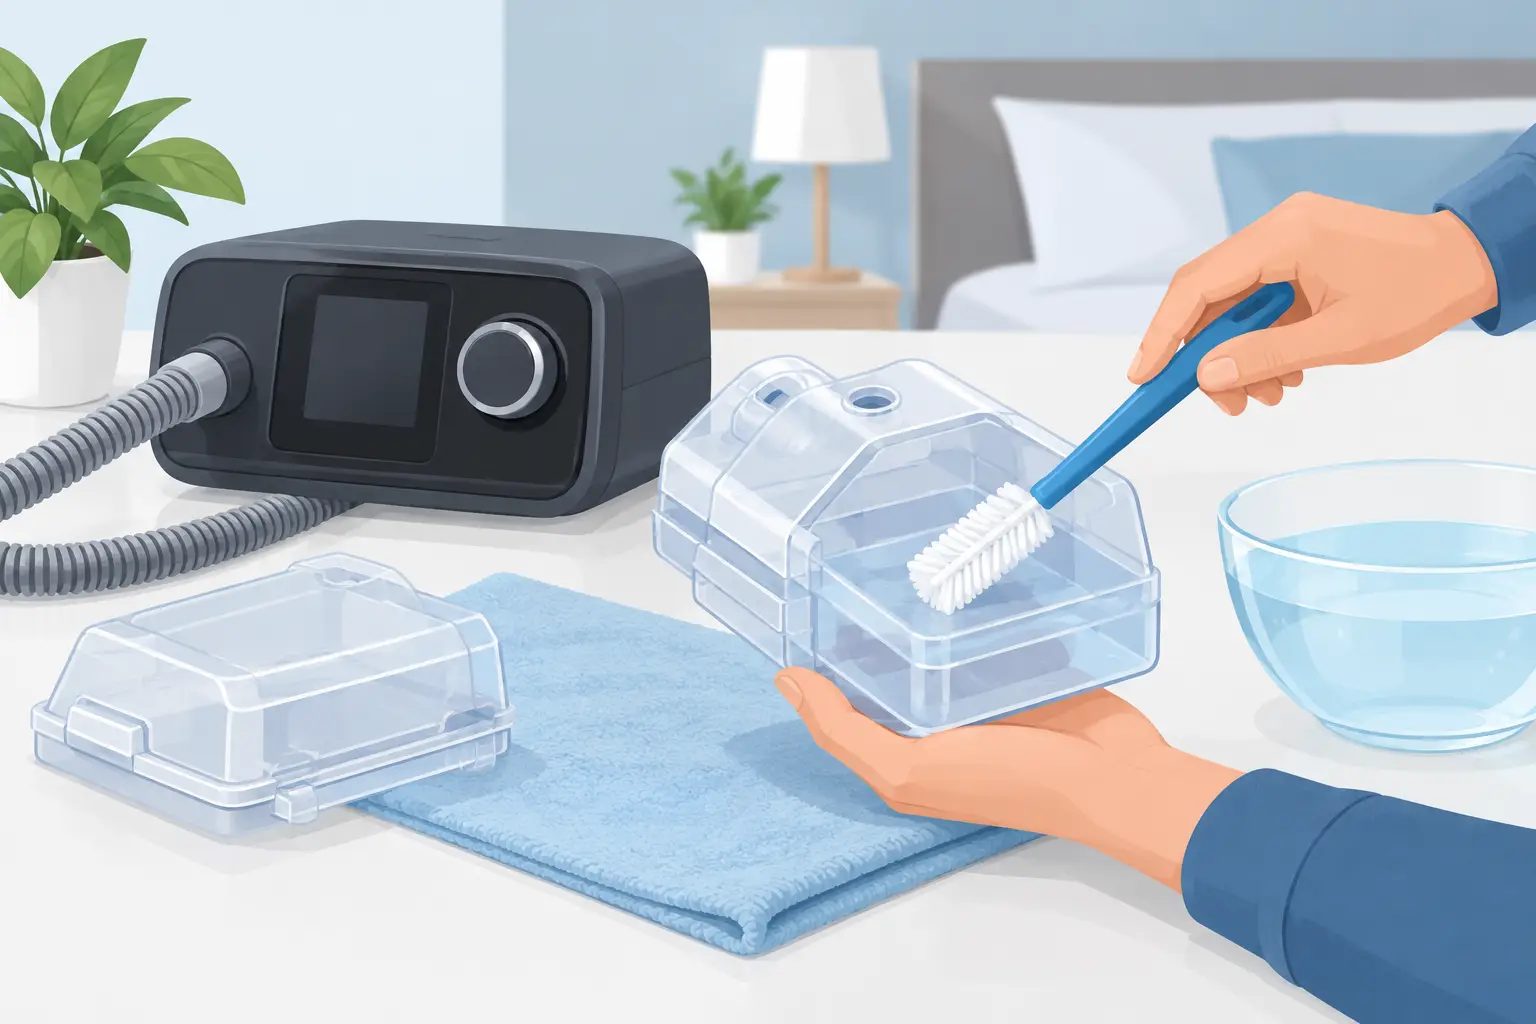
A clean CPAP humidifier chamber can make a noticeable difference in how comfortable therapy feels night after night. When the chamber is cared for regularly, it helps deliver the moisture your airway needs without leaving behind stale water, mineral residue, or unpleasant odors. The routine is simple, takes only a few minutes, and can help you feel more confident about using your CPAP every night.
Why Humidifier Chamber Care Matters
Your CPAP humidifier chamber holds the water that adds moisture to your therapy air. That moisture can ease dry mouth, nasal dryness, and throat irritation for many users, especially during colder months or in dry indoor environments. But because the chamber regularly holds water and is exposed to warm airflow, it also needs consistent cleaning.
Water left in the chamber can develop mineral deposits, particularly if you use tap water. Over time, those deposits may look like a cloudy film, white spots, or crusty buildup along the bottom of the tub. A chamber that is not emptied and dried can also develop an odor or residue that makes therapy less pleasant.
Cleaning is not about making your equipment look perfect. It is about protecting a comfortable nightly routine. If CPAP therapy already feels like one more thing to manage at the end of a long day, a small daily habit can prevent bigger cleaning jobs later.
How to Clean a CPAP Humidifier Chamber
Always start by turning off and unplugging your CPAP device. Let the heated humidifier plate cool completely before removing the chamber. Trying to handle it while it is still warm can be uncomfortable and may increase the chance of spills.
Empty the chamber every morning
After waking up, remove the humidifier chamber and pour out any remaining water. Do not save leftover water for the next night. Fresh water helps reduce the chance of mineral buildup and keeps the chamber ready for your next use.
Rinse the chamber with warm water, then place it on a clean towel or drying rack to air-dry away from direct sunlight. Leave the lid or openings exposed so moisture can evaporate fully. If you need to pack your CPAP for travel, make sure the chamber is empty and dry first.
Wash it with mild soap on a regular schedule
Most CPAP users benefit from washing the chamber with warm water and a mild, fragrance-free dish soap at least once a week. Gently wash the inside and outside of the chamber with your hands. A soft cloth may be useful for stubborn residue, but avoid abrasive sponges, brushes, or scouring pads that could scratch the plastic or metal surface.
Rinse thoroughly until no soap remains. Even a small amount of soap residue can create foam or an unwanted scent when the humidifier warms up. After rinsing, let the chamber air-dry completely before putting it back into the machine.
Some humidifier chambers are dishwasher-safe, while others are not. Check the instructions for your specific CPAP machine and chamber before placing any part in the dishwasher. When in doubt, hand-washing is the safer choice.
Address mineral buildup before it gets worse
If you see a white film or deposits, clean the chamber according to the manufacturer’s directions. Some manufacturers allow a brief soak with a diluted white-vinegar solution, followed by thorough rinsing. Others provide different care instructions, so the user manual for your exact chamber should be the deciding factor.
Never use bleach, scented household cleaners, harsh disinfectants, or alcohol-based cleaning products unless the manufacturer specifically instructs you to do so. These products can damage the chamber materials or leave fumes and residue that do not belong in your therapy air.
After treating buildup, rinse the chamber several times with clean water and allow it to dry fully. If the cloudiness does not come off, or if the chamber surface appears damaged, replacement may be a better choice than continued scrubbing.
Use Distilled Water for Easier CPAP Care
Distilled water is usually the best choice for CPAP humidification because it contains far fewer minerals than tap water. Less mineral content means less residue inside the chamber, which makes cleaning easier and may help preserve the chamber’s appearance over time.
If you are away from home and distilled water is unavailable for a night or two, follow the guidance in your CPAP manufacturer’s instructions. Do not let the inconvenience of travel keep you from using therapy. Just empty the chamber, clean it when you return home, and resume using distilled water when possible.
Bottled drinking water is not the same as distilled water. It can still contain minerals that leave deposits behind. For routine use at home, distilled water is the practical, low-maintenance option.
Check the Chamber While You Clean It
Cleaning day is also a good time to inspect your humidifier chamber. Look closely at the lid, silicone seals, corners, and connection points. A chamber that does not seal properly can contribute to leaks, reduced humidification, or water escaping into the device.
Replace the chamber if you notice cracks, warping, deep scratches, discoloration that will not wash away, a damaged seal, or a lid that no longer closes securely. These issues can happen gradually, especially with regular heating and cooling. A replacement chamber is often a straightforward way to restore reliable humidification without replacing your entire CPAP machine.
It also helps to check your machine’s water chamber area. Wipe the exterior heating plate area only as directed by your device manual, and never pour water directly into the CPAP machine base. The removable chamber is designed to hold water. The machine itself is not.
A Simple Cleaning Routine You Can Keep
The best cleaning schedule is one you will actually follow. For many people, that means making the morning routine automatic: empty the water, rinse the chamber, and set it out to dry. Then choose one consistent day each week for a more thorough soap-and-water wash.
If you use your device every night, live in an area with hard water, or notice visible deposits, you may want to inspect and wash the chamber more often. On the other hand, frequent aggressive cleaning is not better. Gentle cleaning with the right products protects the materials better than harsh chemicals or rough scrubbing.
A little organization helps, too. Keep distilled water near your CPAP setup, store mild dish soap where you can find it, and allow enough space for the chamber to air-dry safely. These small details remove friction from your care routine, which makes it easier to stay consistent with treatment.
When Comfort Changes, Look Beyond the Water Chamber
A properly cleaned chamber supports comfortable humidification, but it is only one part of your CPAP system. If you still wake with dryness, congestion, leaks, or discomfort after cleaning and refilling the chamber, review your humidifier setting, mask fit, tubing, and filters. A low humidifier setting may not provide enough moisture, while a setting that is too high can sometimes create condensation in the tubing.
Climate-control tubing can help some users manage condensation, particularly in cool bedrooms. Mask cushions, filters, and tubing also wear out over time, and replacing them on schedule can make a meaningful difference in comfort. If you are unsure which part needs attention, Affordable Sleep Solutions can help you find compatible replacement supplies and keep your therapy setup working as intended.
Your CPAP routine should support better breathing and deeper sleep, not add unnecessary stress. Empty the chamber in the morning, clean it gently, use fresh distilled water at night, and replace it when wear begins to show. Those few minutes of care help keep your bedtime setup comfortable, dependable, and ready when you are.