
 Featured Machines
 Travel CPAPs

 Most Popular Masks

 Tubes and Hoses
 Humidifier Chambers
 Machine Filters
 Power Cords
 Headgear
 Nasal Pillows
 Cushions and Seals


When to Replace CPAP Air Filter for Better Sleep

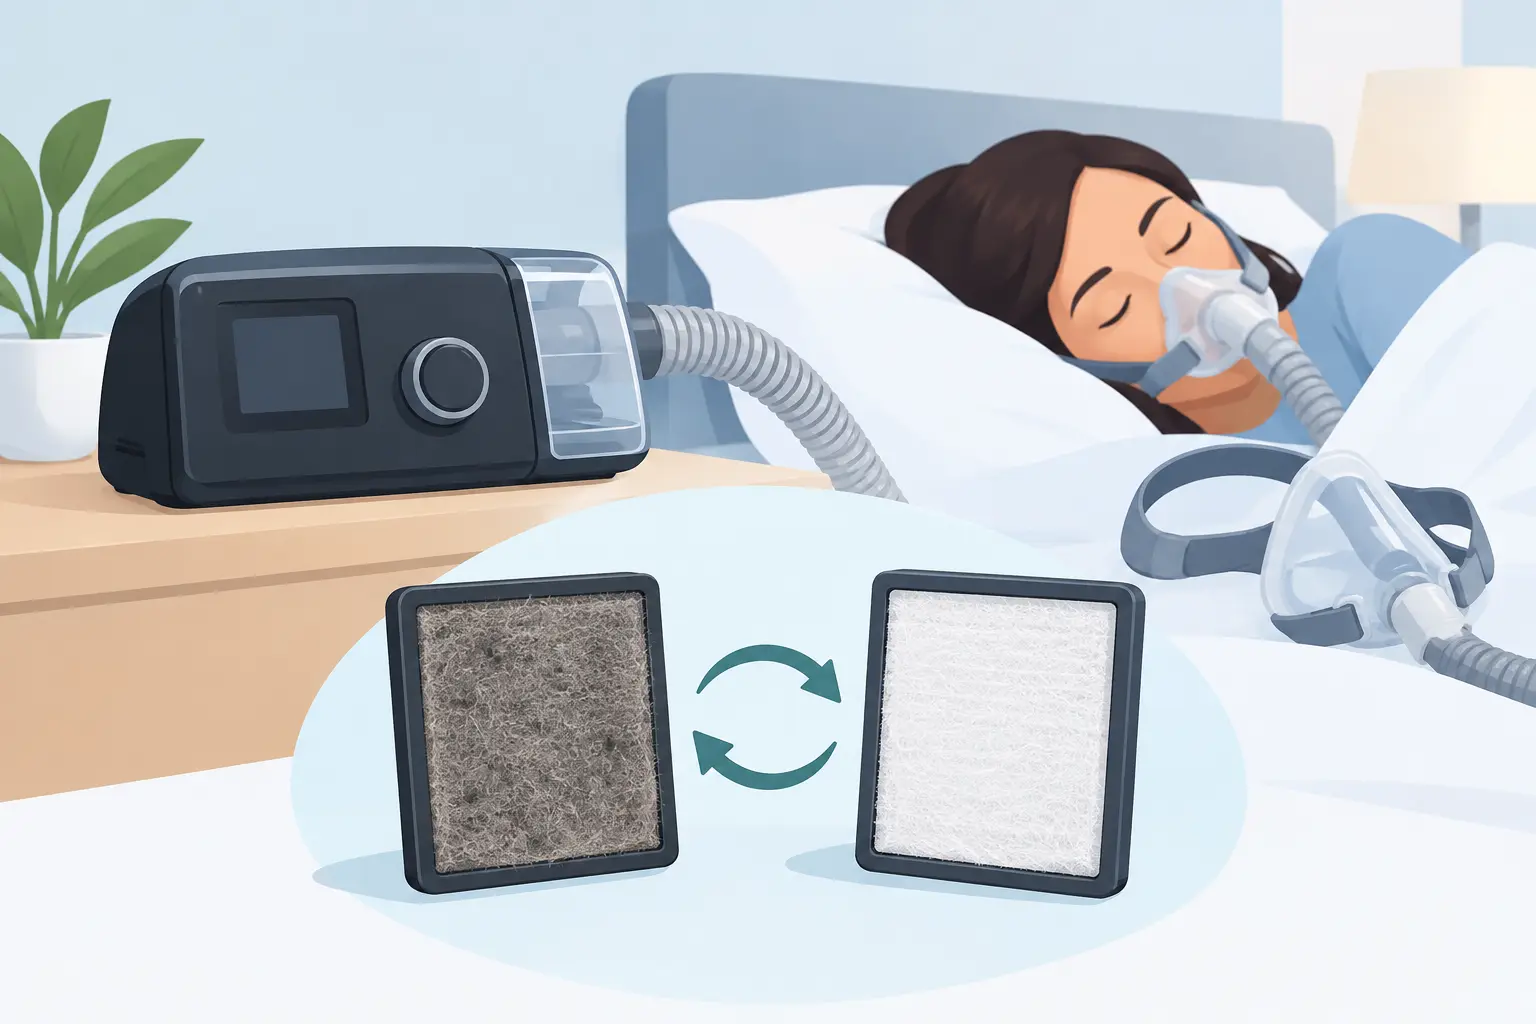
Your CPAP filter is easy to overlook because it does its work quietly, behind a small access panel. Yet a dirty or worn filter can affect airflow, add strain to your machine, and leave you wondering why therapy suddenly feels less comfortable. Learning when to replace CPAP air filter supplies is one of the simplest ways to protect your equipment and support a more refreshing night of sleep.
A filter is not a one-size-fits-all replacement item. The right schedule depends on your machine, the filter type, your home environment, and whether you have pets, allergies, or frequent exposure to dust. A quick check takes only a moment, and it can help keep your therapy feeling clean, consistent, and easy to maintain.
Why Your CPAP Filter Matters
Your CPAP machine draws room air into the device, pressurizes it, and delivers that air through the tubing and mask. The air filter is the first line of defense, catching dust, lint, pet hair, and other particles before they enter the machine.
A clean filter helps your device maintain the airflow it was designed to deliver. It also helps reduce the buildup of debris inside the machine. That matters for the long-term care of a device you rely on night after night.
Filters support machine hygiene, but they are not a substitute for cleaning your mask, tubing, humidifier chamber, and other reusable parts. Each item has a different job. Keeping up with all of them creates a more comfortable therapy routine and helps you feel confident using your equipment at home.
When to Replace CPAP Air Filter Supplies
The instructions for your specific CPAP model should always come first. Many standard disposable filters are intended to be replaced about every 30 days, while reusable foam filters may be washed regularly and replaced less often. Some machines use both a reusable foam filter and a disposable fine filter, so it is important to know which type your device uses.
Monthly replacement is a practical starting point for many CPAP users. However, you may need to replace a disposable filter sooner if it looks gray, dusty, discolored, bent, damp, or damaged. Do not wait for a filter to appear completely clogged. By then, it may already be restricting airflow into the machine.
Your environment makes a real difference. Consider checking filters more often if you live with pets, use a wood-burning fireplace, live near a construction area, keep windows open during high-pollen seasons, or notice dust collecting quickly around your home. People with seasonal allergies may also prefer a more frequent inspection schedule during periods when irritants are higher.
If you travel with your CPAP, inspect the filter before and after the trip. Hotel rooms, luggage, vehicles, and unfamiliar environments can expose your equipment to more dust than usual. Packing a spare compatible filter is a small step that can prevent an interruption in your routine.
Signs Your Filter Needs Attention
A visual inspection is usually the clearest signal. Remove the filter according to your machine manual and hold it up in good light. A bright white disposable filter that has become gray or yellowed is ready to be changed.
You may also notice that your device seems louder than usual or that airflow feels different. Those changes can have several causes, including a mask leak, blocked tubing, or a humidifier issue, so a dirty filter is not automatically the answer. Still, replacing an overdue filter is an easy and sensible troubleshooting step.
Never try to stretch the life of a disposable filter by washing it. Water can damage the filter material and may allow particles through it. If it is designed for one-time use, replace it with a new compatible filter.
How to Change a CPAP Filter Safely
Replacing a filter is usually straightforward, but the filter compartment and orientation vary by machine. Check your user guide if you are new to the device or uncertain about the location. In general, the process looks like this:
- Turn off your CPAP machine and unplug it from power.
- Find the filter cover, usually located on the back or side of the device.
- Remove the old filter carefully without pushing dust into the machine.
- Insert the correct new filter in the proper direction, then replace the cover securely.
- Plug the machine back in and confirm that the cover sits flush before starting therapy.
Avoid operating your CPAP without a filter, even briefly. A missing filter can allow dust and debris into the device. It is also best not to use a filter that is torn, wet, altered, or made for a different machine model.
For reusable foam filters, follow the manufacturer’s cleaning instructions exactly. This often means rinsing the foam filter with clean water, gently squeezing out excess water, and allowing it to air-dry completely before reinstalling it. A damp filter should never go back into the machine. Moisture can interfere with airflow and create an environment where unwanted buildup is more likely.
Choosing the Right Replacement Filter
CPAP filters are model-specific. A filter that looks similar may not fit correctly, and a poor fit can leave gaps where unfiltered air enters the machine. Before ordering, confirm your machine’s make and model and verify whether it uses a disposable fine filter, reusable foam filter, or a combination of both.
For example, many ResMed devices use distinct filter shapes and sizes depending on the model. Travel CPAP machines may also have their own compact filter design. The simplest approach is to keep the original packaging or note your machine model in your phone so you can reorder confidently.
Price matters, especially because filters are recurring supplies. But the lowest-cost option is not always the best value if it does not fit securely or is not intended for your equipment. Choose filters made for your specific machine and keep enough on hand to avoid delaying a replacement when your current filter looks dirty.
Affordable Sleep Solutions can help make ongoing therapy supplies easier to manage, whether you need filters, masks, tubing, humidifier chambers, or guidance identifying compatible equipment. Consistent replacement supplies are part of making sleep apnea treatment feel manageable, not like another complicated task on your calendar.
Build Filter Care Into Your CPAP Routine
The best replacement schedule is the one you will actually follow. Instead of relying on memory, connect filter checks to a routine you already have. You might inspect the filter when you clean your humidifier chamber, on the first day of each month, or when you receive a recurring supply order.
Keeping a few spare filters in a clean, dry drawer is helpful. Store them in their original packaging when possible, away from moisture and strong odors. If you use scented products, aerosols, or cleaning sprays near your bedside, move your CPAP machine away from the source. Filters are designed for ordinary airborne particles, not to protect the machine from heavy chemical fumes.
It also helps to place your machine on a stable nightstand or bedside surface rather than directly on carpet or near a heating vent. A lower position can collect more dust, while a crowded space may make it harder to notice lint and debris around the air intake. A little room around the machine supports better ventilation and makes regular care easier.
A Clean Filter Supports More Comfortable Therapy
Replacing a CPAP filter will not solve every comfort concern. Dry mouth, mask leaks, congestion, pressure changes, and discomfort can all need different solutions. If your therapy has become difficult to tolerate, do not assume a filter is the only issue.
Still, a fresh filter is a simple, affordable part of dependable CPAP care. Check it regularly, replace it when it is due or visibly dirty, and use the correct filter for your specific machine. That small habit helps protect your equipment so you can focus on what matters most: breathing better, sleeping deeper, and waking up ready for the day.